Infrared heating panels: a complete guide
The three classes of infrared panel, how to size and place them, what to check before buying, and where an embedded system beats a surface-mounted one.

Infrared panels are the form most people meet first, and the category covers products that have very little in common beyond the physics. A 150 °C industrial radiant heater and a panel skimmed into a domestic ceiling are not the same purchase.
This guide sets out the three classes, how to size and place them, and what to check before you buy.
How they work
An electrical element heats the panel, and the panel’s face radiates far infrared into the room. That radiation is absorbed by the floor, the furniture, the walls and the people, warming them directly rather than warming the air and waiting for the air to do the job.
The consequences follow from that: no air movement, no dust circulation, no stratification, no noise, and comfort at a lower air temperature.
The three classes
1. High-output industrial heaters
Surface temperatures above 150 °C, high wattage, designed to throw heat a long way into large volumes. Warehouses, factories, showrooms, workshops, loading areas.
They work, and for those buildings they are frequently the right answer. They are not domestic products: at those temperatures the radiant asymmetry is severe and they must be mounted well out of reach.
2. Medium-output residential panels
The familiar wall or ceiling-mounted panel, typically 300 to 1,200 W, usually running at 90 to 110 °C.
This is the mass market, and the surface temperature is its central weakness. A small emitter has to run hot to deliver useful output, which produces the “hot head, cold feet” sensation, a room warm in a beam and cool outside it, and a unit that cannot be touched or built into anything.
They are easy to install — many simply plug in — and that is their genuine advantage. For a rented flat or a single cold room, that counts for a lot.
3. Embedded panel systems
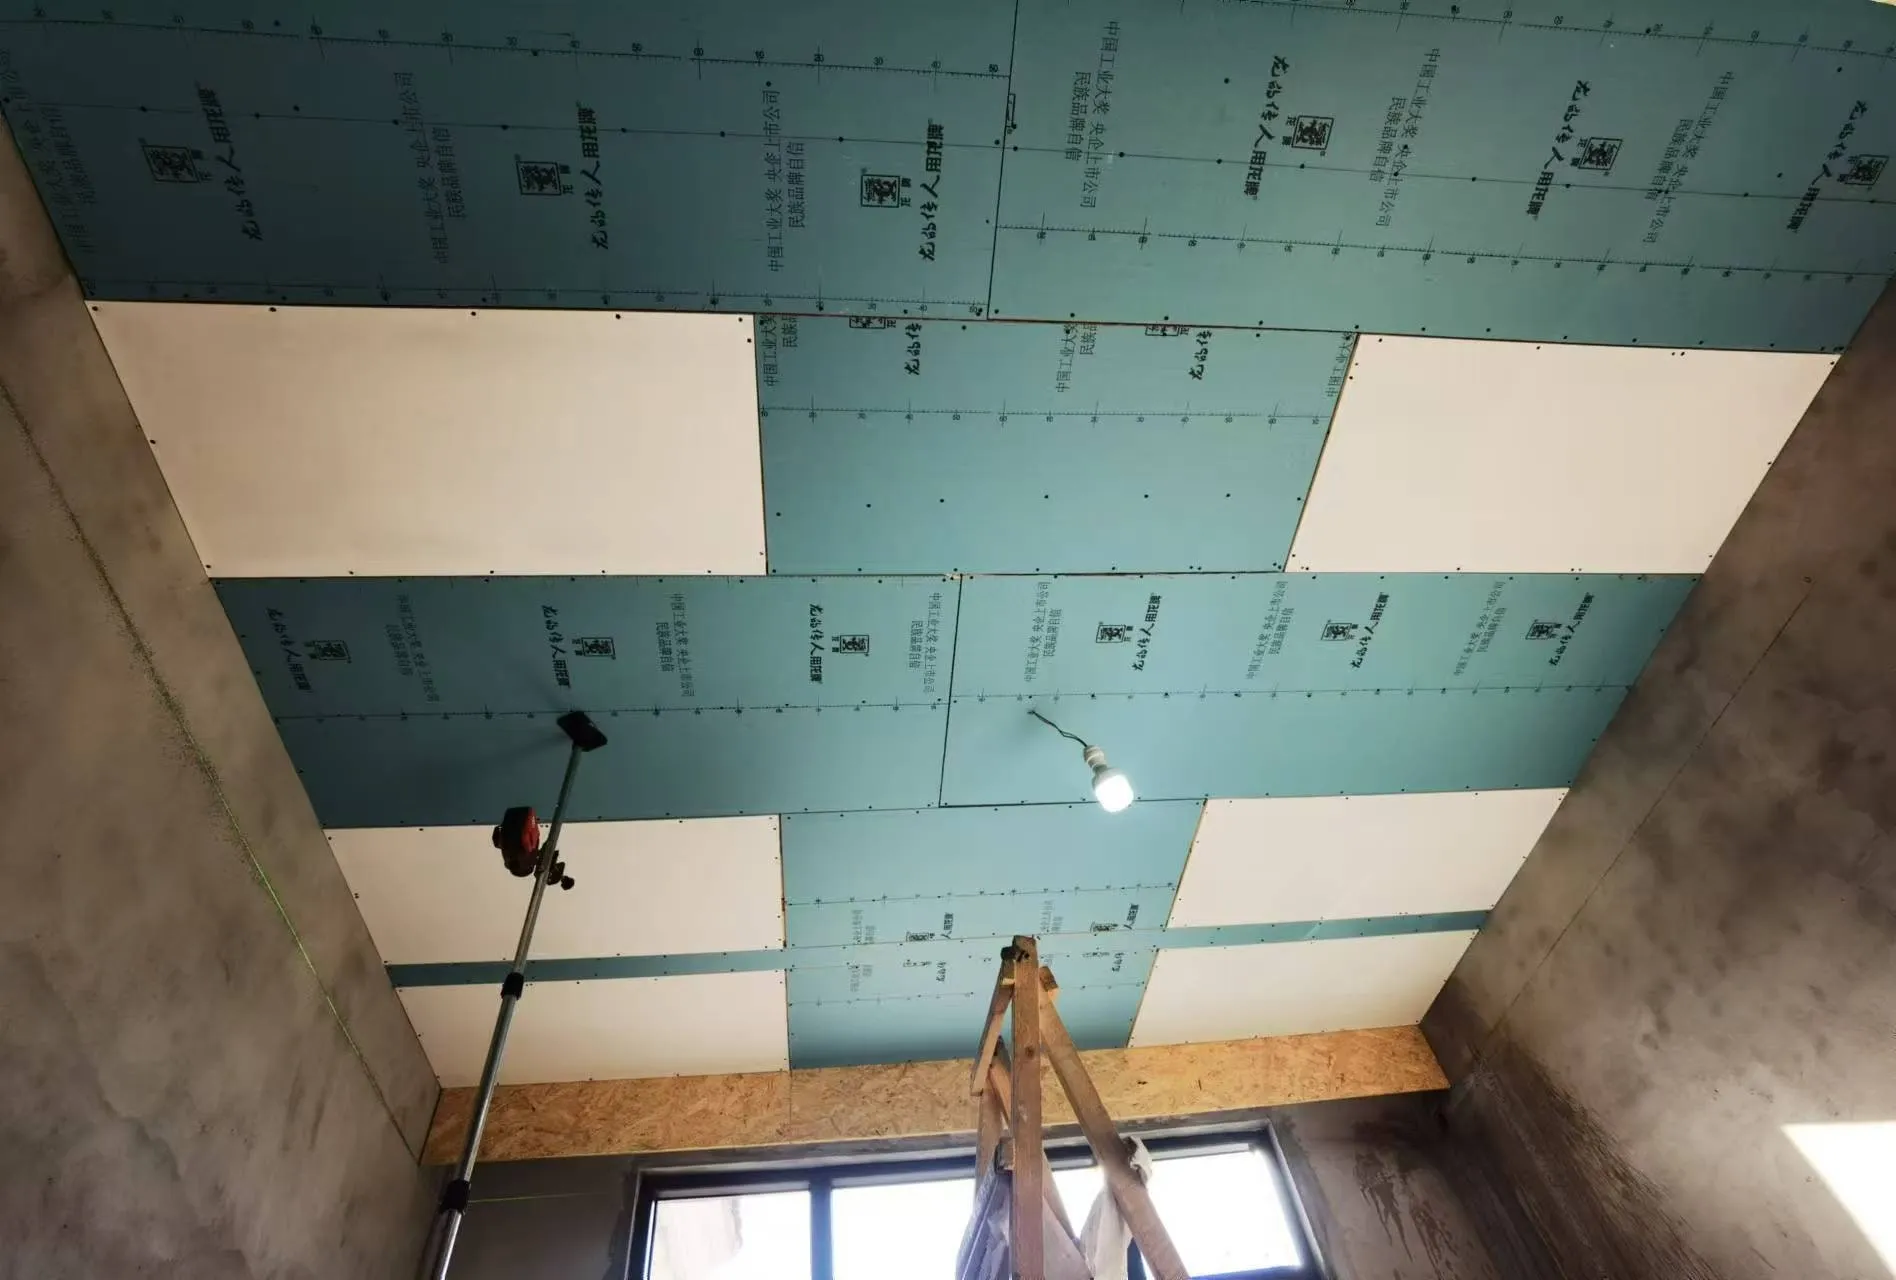
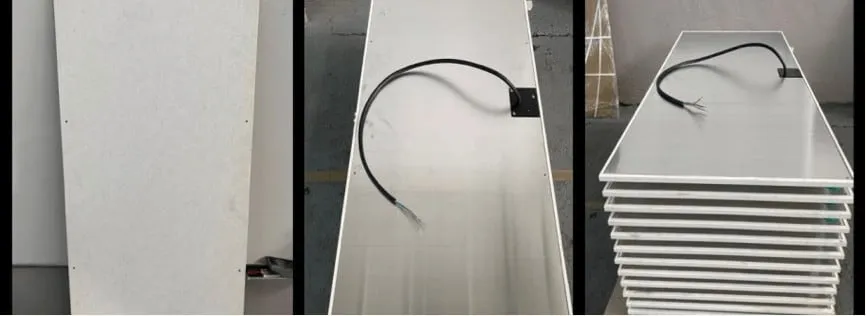
Panels dimensioned to become part of the building. PowerBoard 250 is sized as a standard 1200 × 600 mm plasterboard, goes into a ceiling grid like any other board, and is skimmed or painted over.
Because the emitting area is large and distributed, the surface temperature can be much lower — around 55 °C, which is gentle enough not to affect plaster or paint, comfortable to sit beneath, and invisible once finished.
The trade-off is that it has to be installed as part of the ceiling, so it belongs in a new build or a refurbishment rather than as an afternoon’s work.
Sizing
The method in short — the full version is here:
- Find the heat load band from the building’s insulation standard: 30 W/m² for passive, 50 for new build, 75 for modernised, 100 for partly modernised, 120 for unmodernised.
- Multiply by floor area. A 20 m² room in a modernised house: 20 × 75 = 1,500 W.
- Divide by panel output and round up. At 250 W a panel, that is six panels.
Above about 3.5 m ceiling height, size on volume instead — and consider whether a heated floor is the better answer, since floors are unaffected by ceiling height.
Placement
Sizing tells you how much. Placement decides whether it works.
- Distribute the panels. Several spread across the ceiling beats the same wattage in one place. This is the most common mistake: one big panel per room, which overheats part of it and leaves the rest cold.
- Work toward the losses. Put emitting surface near the façade and glazing, where heat is lost and downdraughts form.
- But do not aim at glass. Radiation directed straight at a window largely leaves through it.
- First panel about 600 mm from the outer wall, then roughly 1.2 m apart centre to centre.
- Keep the path clear. A panel radiating onto a bulkhead, a slanted wall or a chandelier is doing much less than it should.
- Mind ceiling height. Above 3.5 m, ceiling panels lose effectiveness quickly.
What to check before buying
Surface temperature. The single most useful specification, and often the hardest to find. 90 to 110 °C means a hot panel you will be aware of. Around 55 °C means a warm surface you will not. That applies to ours as well: the surface-mounted PowerBoard 500 and 750 run at 80 to 105 °C, which is why we recommend them only where a ceiling cannot be built.
Certification, per product. Ask which standard, which product, and what the certificate number is. Company-level claims are not product certification, and a CE mark on an electrical appliance is largely a self-declaration. PowerBoard is BEAB certified to IEC 60335-1; SafeTech EGS is UL 2683 certified.
How the heat is generated. A resistive wire is hotter above the wire and cooler between runs. A full-surface carbon-fibre element is warm across its whole area, which is what allows the lower surface temperature and the even output.
Controls. Zoning and a decent programmable thermostat are where most of the real-world saving comes from. A panel with no control strategy behind it will disappoint.
Ingress protection, for wet rooms. And ideally low voltage — ComfortScrim runs under 50 V, which is a meaningful property in a bathroom.
Safety
Infrared panels are safe, with the usual electrical caveats. Nothing is burned, so no combustion products and no carbon monoxide.
The practical points: use an electrician; do not cover a surface-mounted panel; keep hot panels out of reach of children; observe the manufacturer’s clearances; and in a bathroom use a properly rated product installed to the zoning rules for wet rooms.
Concealed systems remove most of these concerns by having no exposed surface at all.
Which should you choose?
- Large industrial volume? High-output units.
- Rented, or one cold room, or unwilling to disturb finishes? Medium-output surface panels, accepting the surface temperature.
- Building or refurbishing? Embedded, every time. Same heat, invisible, more comfortable, and the ceiling is going in anyway.
If you have a plan, send it to us and we will return a panel layout and a load schedule.