Does wall or ceiling heating crack plaster? What causes it and how to avoid it
Can you plaster over a heating film without it cracking? Why some heated walls and ceilings crack, the five things that prevent it, which plasters to use, when to switch on, and what to avoid.
Does wall or ceiling heating crack plaster? It can. But heat on its own isn’t the cause. Plaster cracks when one part of it moves more than the part next to it, and most heating systems that crack plaster do so because they heat it unevenly, run too hot, or get switched on before the plaster has cured.
Get those right and a heated wall or ceiling behaves like any other plastered surface. This article covers why plaster cracks, why some heated walls and ceilings do, the five things that prevent it, which plasters to use, and what to avoid on site. The three-minute film below walks through the same ground.
Two kinds of crack, two different causes
Almost every plaster that cures by hydration or carbonation shows some cracking over its life. That’s true of an unheated wall too. The useful question is which kind of crack you’re looking at.
- Thermal cracks are fine and stay in the surface. They come from expansion, contraction and uneven heating, and they can be controlled on site.
- Structural cracks start in the wall behind: settlement, uneven loads, movement at a joint between materials. The plaster just follows. No heating system causes them, and no plastering technique stops them. They have to be fixed in the substrate before anything goes on top.
The rest of this article is about the first kind.
Why plaster cracks: uneven expansion
Everything expands when it warms up. Plaster that warms evenly grows as one piece, a fraction of a millimetre across a wall, and nothing happens.
The trouble starts when two neighbouring areas sit at different temperatures. The warmer area expands more than the cooler one, and the two pull against each other along the line where they meet. Plaster is strong in compression and weak in tension, so that line is where it tears. Expansion is not the problem. Uneven expansion is.
Why some heated walls and ceilings do crack
Every heating system that cracks plaster does it in one of five ways.
1. Heat delivered in lines, not across the surface. Pipes or cables laid in plaster heat the wall in strips. The plaster over each line expands more than the plaster between them, so the stress concentrates along the lines, which is why the cracks on these systems often trace the pipe or cable pattern.
2. A layer the plaster can’t grip. A solid foil or film with no openings splits the plaster into two coats with nothing joining them. Every heat-up and cool-down shears that bond. The result is hollow-sounding patches, blistering and plaster coming away in sheets.
3. Running too hot. The hotter the surface runs, the more it expands and the harder the bond is worked. In the field, plaster cracking has been observed from around 80 °C upwards. A system running close to that, or a hot panel fixed straight onto plaster, has no margin.
4. Switching on before the plaster has cured. Fresh plaster is still shrinking as it dries. Heat drives the moisture out faster than the plaster can take, and it cracks on its own account, whatever is heating it. On site, this is the most common cause of all.
5. Cracks that were already there. Board joints, junctions between brick and concrete, a substrate that is still moving. Heating doesn’t create these, but warming and cooling will find them and bring them through to the surface.
How ComfortScrim is built to avoid it
ComfortScrim is designed against the first three of those. The last two are down to how it is installed, so they’re part of our specification.
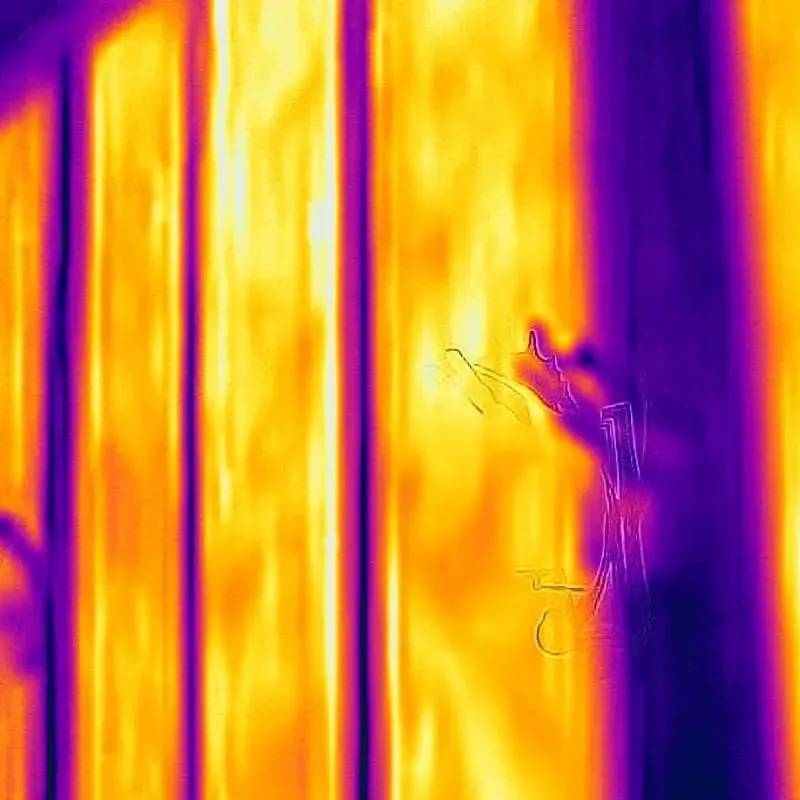
Whole-surface heating. The element is a carbon-fibre scrim that heats its whole area, not a set of lines. Every point in the plaster above it warms by the same amount, so there’s no boundary between hot and cold areas to tear along.
A temperature margin. ComfortScrim runs at up to 55 °C, against the roughly 80 °C at which cracking has been seen on site. That 80 °C is a field observation, not a laboratory figure, but it leaves a margin of around 25 °C. We explain why 55 °C is the ceiling we work to in why a 55 °C surface.
A thin, even cover. The film is 0.4 mm thick and sits under at least 1 mm of plaster. In a layer that thin, the temperature is nearly the same from the back to the face, so the plaster expands evenly through its depth as well as across it.
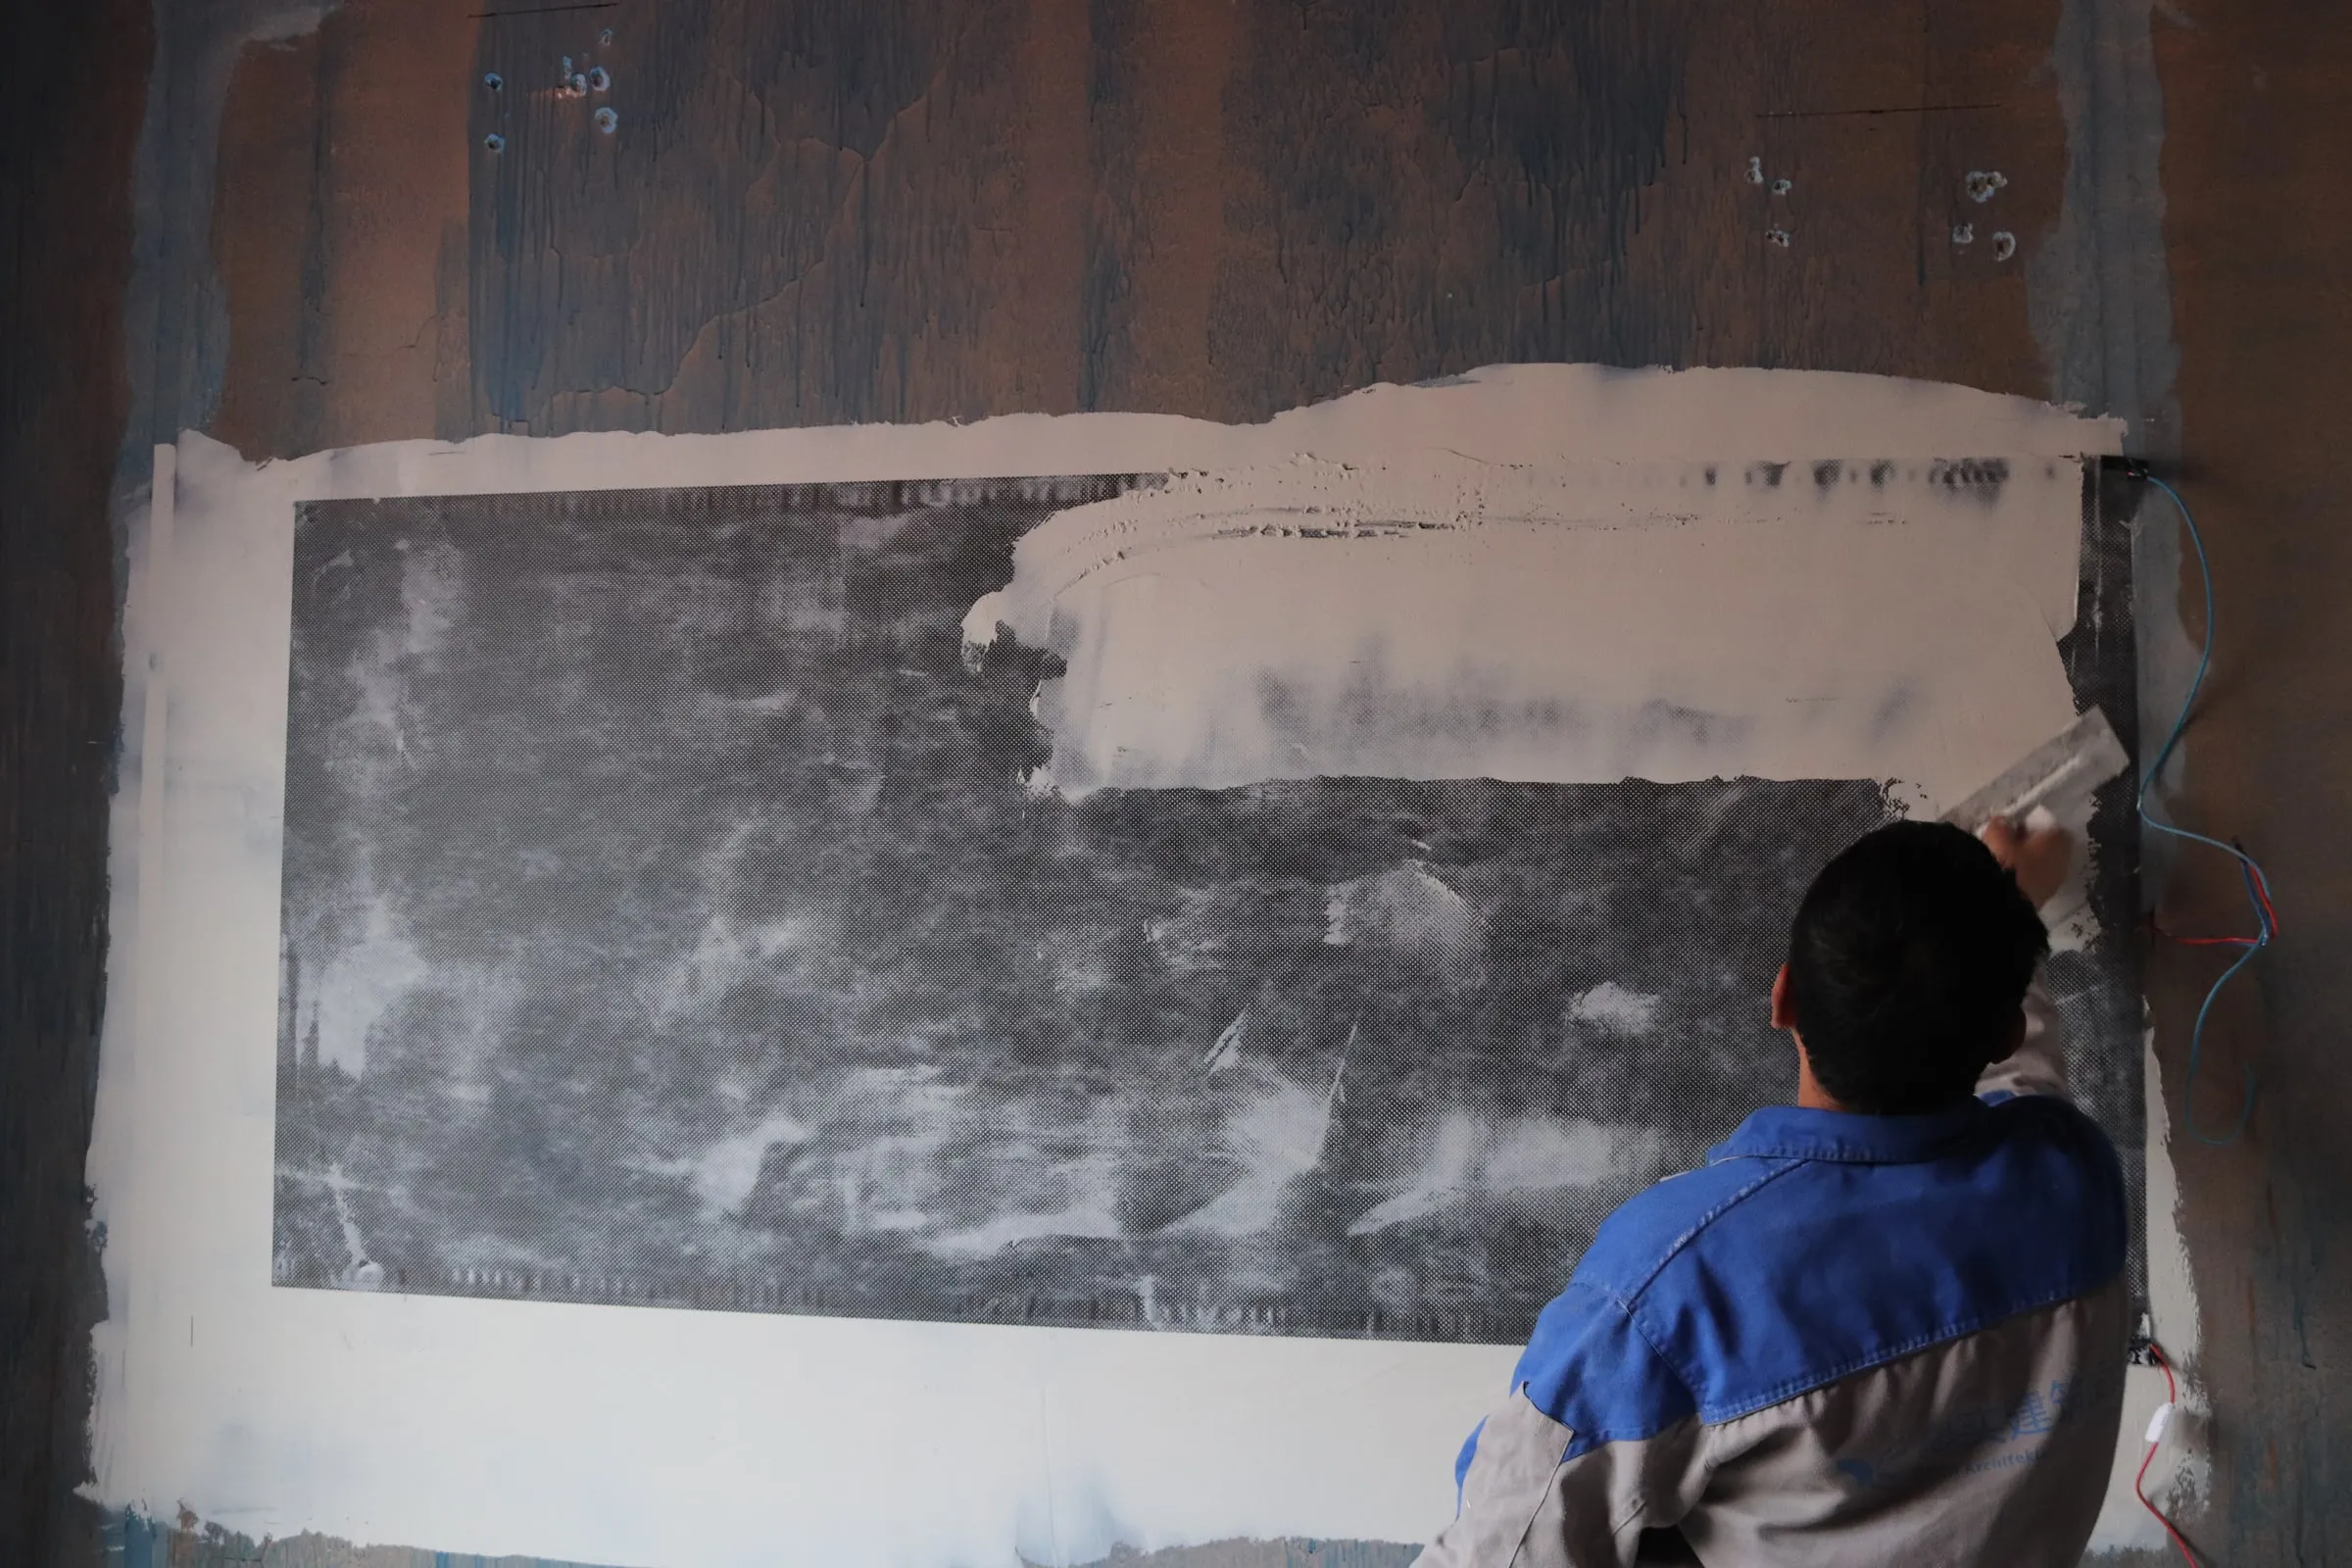
30–50% open area. ComfortScrim is perforated. It sits inside the plaster, not underneath it: the base coat and the top coat key through the openings and bond to each other, so the finish cures as one continuous layer with the scrim acting like reinforcing mesh. There’s no shear plane to come apart.
A proper cure. The plaster cures for at least 72 hours, longer if the plaster manufacturer says so, and the heating stays off until it is fully dry. Then it comes up to temperature gradually.
Which plasters to use
Use a water-resistant cement- or lime-based mortar, or a putty. These are what the specification and the warranty are written around.
Anything else needs checking with us first. Plasters don’t all behave alike: gypsum, lime, cement and clay differ in how much they shrink as they cure, how they take moisture and how they respond to heat. Tell us the product at design stage and we’ll confirm it or suggest an alternative.
Before you switch on: cure, then heat up slowly
Leave the plaster to cure for at least 72 hours, or the plaster manufacturer’s full curing time if that is longer. The thicker the coat and the colder or damper the room, the longer it takes.
Then bring the heating up in steps over several days rather than straight to full output, and keep the room ventilated without blowing a draught across the fresh surface.
On a larger project, keep a simple heat-up log: the date the plaster went on, the date the heating was first switched on, and each setpoint after that. Site managers and architects will want it for the handover file, and if a question is ever raised about a crack, it answers it.
What to avoid
- Plastering over a film or foil with no open area
- A plaster layer thinner or thicker than the specification
- Plasters that aren’t on the approved list and haven’t been confirmed with us
- Switching on before the plaster has fully cured, or going straight to full output
- Running film across a board joint or a junction between different substrates without reinforcing mesh
- Plastering over a crack in the substrate without fixing it first
- Hot point sources, such as halogen downlights, set into or against fresh plaster
Covered for ten years
When ComfortScrim is installed to our specification, we back it with a 10-year warranty that covers any cracking the film directly causes. Structural cracking in the building is outside it, for the reasons above.
If you’re specifying a heated wall or ceiling, send us the substrate and the plaster you plan to use. We’ll check them against the specification before anything goes on the wall. For the system itself, see wall and ceiling heating.
Plaster and heating: the questions we get asked
Can you plaster over a heating film?
Yes, if the film is made for it. A perforated film like ComfortScrim sits inside the plaster: the base coat and top coat bond through the openings and cure as one layer. A solid film with no openings leaves two coats with nothing joining them, which is how plaster ends up delaminating.
Will a heated ceiling crack?
Not because of the heating, if the element heats the whole surface evenly, runs well below 80 °C and the plaster has cured before it is switched on. Structural cracks, such as at board joints or from a moving substrate, still have to be dealt with before plastering.
How long should plaster cure before I turn the heating on?
At least 72 hours, or the plaster manufacturer’s full curing time if that is longer. Then bring the heating up gradually over several days rather than going straight to full output.
How thick should the plaster be over ComfortScrim?
The 0.4 mm film sits under at least 1 mm of plaster. A thin, even layer warms evenly through its depth, which keeps the stress low.
Which plaster can I use over wall heating?
A water-resistant cement- or lime-based mortar, or a putty. For any other product, including gypsum and clay plasters, check with us at design stage first.
Is cracking covered by the warranty?
Yes. When ComfortScrim is installed to our specification, it carries a 10-year warranty that covers any cracking the film directly causes. Structural cracking in the building is not covered.