Choosing adhesive for a heated floor
Which adhesive to specify over an electric underfloor heating element: deformability class, bed thickness, coverage and the cure before first power-on.
An adhesive that performs perfectly on a cold floor can fail on a heated one. It is the same tile, the same substrate and the same trowel, but the bed now sits directly above an element that cycles between ambient and working temperature several times a day, and it forms part of the thermal path between that element and the room.
Three things change as a result: the adhesive has to tolerate movement, it has to conduct rather than insulate, and it has to make contact everywhere. This is the guidance we give for SafeTech EGS, together with the products MAPEI specify for it.
Deformability: S1 as a minimum, S2 above 1.2 m²
Cement-based tile adhesives are graded for deformability under EN 12004. S1 is deformable, S2 highly deformable, and the classification describes how far the cured bed can flex before it fails.
A heated floor moves. The element reaches design temperature in well under an hour and cools just as quickly, and the finish, the bed and the substrate all expand at different rates while it does. A rigid C2 adhesive with no S rating will hold for a season and then telegraph that movement into the grout lines.
Specify C2TE S1 as the baseline: cementitious, improved adhesion, extended open time, deformable. MAPEI’s equivalents for this build-up are KERAFLEX MAXI S1 ZERO and KERAFLEX VARIO QUICK S1, or ULTRALITE S1 FLEX where a lighter bed is wanted.
Above 1.2 m² tile size, move to S2. A large-format tile has more surface over which to accumulate differential movement and less joint length to relieve it. ULTRALITE S2 FLEX and MAPESTONE MAXI S1 cover that case. This is the single most common reason a heated tiled floor debonds in its first winter.
For bonding the element itself to the substrate, MAPEI specify KERAFLEX EXTRA S1 LD, and for embedding it, FIBERPLAN XTRA at 5 mm or more.
Bed thickness: not less than 3 mm, not more than 5
Both limits exist for a reason, and they pull in opposite directions.
Minimum 3 mm protects the film. The element is 1.4 mm thick and a thin bed leaves it exposed to the trowel edge, to grit trapped under a tile, and to point loads during laying.
Maximum 5 mm protects the performance. Every millimeter of adhesive is thermal resistance between the element and your feet, and it slows response as well as reducing output at the surface. The floor finish above the element should stay below 0.05 m²·K/W in total, and a bed that drifts to 10 mm eats a meaningful share of that budget before the tile is even counted.
Use a 5 mm notched trowel held at 45°, and back-butter to reach at least 90% mortar coverage.
Coverage matters more than it does on a cold floor
On an unheated floor a void under a tile is a durability problem that may take years to surface. Over an element it is a thermal problem immediately.
Air is an excellent insulator. A void beneath the tile means heat cannot leave the element at that point, so the element runs hotter there while the tile above stays cooler than its neighbours. The same principle is why the substrate has to be flat before anything is laid: never install over an unleveled substrate, because local voids cause the film to overheat. Flatness tolerance is 3 mm over a 2 m straight edge; anything deeper gets leveling compound, anything proud gets ground back.
After laying, tap each tile with a rubber mallet to expel trapped air. No hollow-sounding tiles, and a hollow rate above 5% means lifting and relaying.
Priming, which depends on the substrate
Absorbency differs enormously between substrates, and an unprimed absorbent screed will pull water out of the adhesive before it can hydrate. MAPEI’s recommendation for this build-up:
| Substrate | Primer |
|---|---|
| Concrete | PRIMER MF |
| Cement screed | ECO PRIM T PLUS, diluted 1:3 with water |
| Calcium sulfate screed | ECO PRIM T PLUS, diluted 1:2 with water |
| Existing ceramic tiles | ECO PRIM GRIP PLUS |
| Mastic asphalt | ECO PRIM T PLUS, diluted 1:1 with water |
Where a leveling compound has been used, prime again over it before bonding — ECO PRIM T PLUS at 1:2 to 1:3. On the element itself, mist the surface lightly with water, no standing water, and apply bonding primer at roughly 200 g/m².
How the layers sit
Wet installation
Element embedded in leveling compoundDry installation
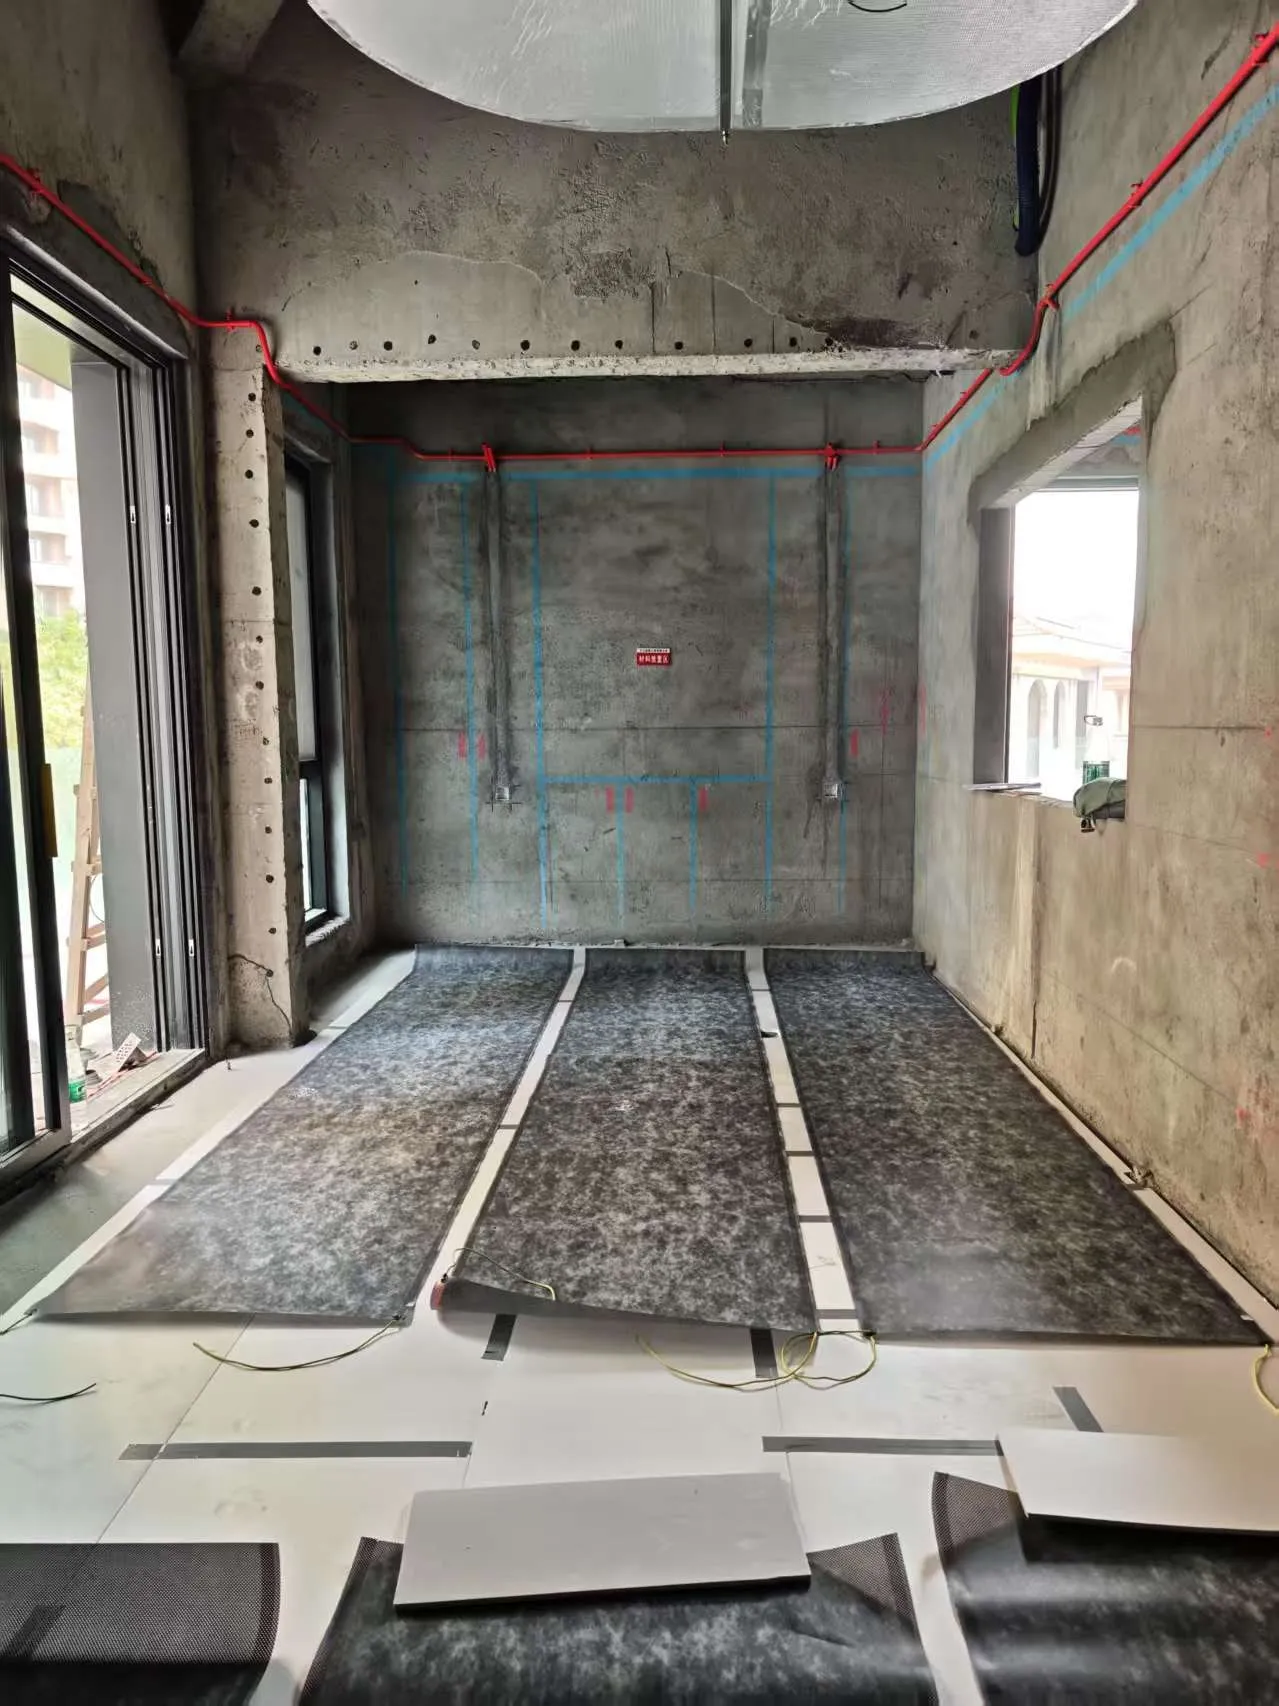
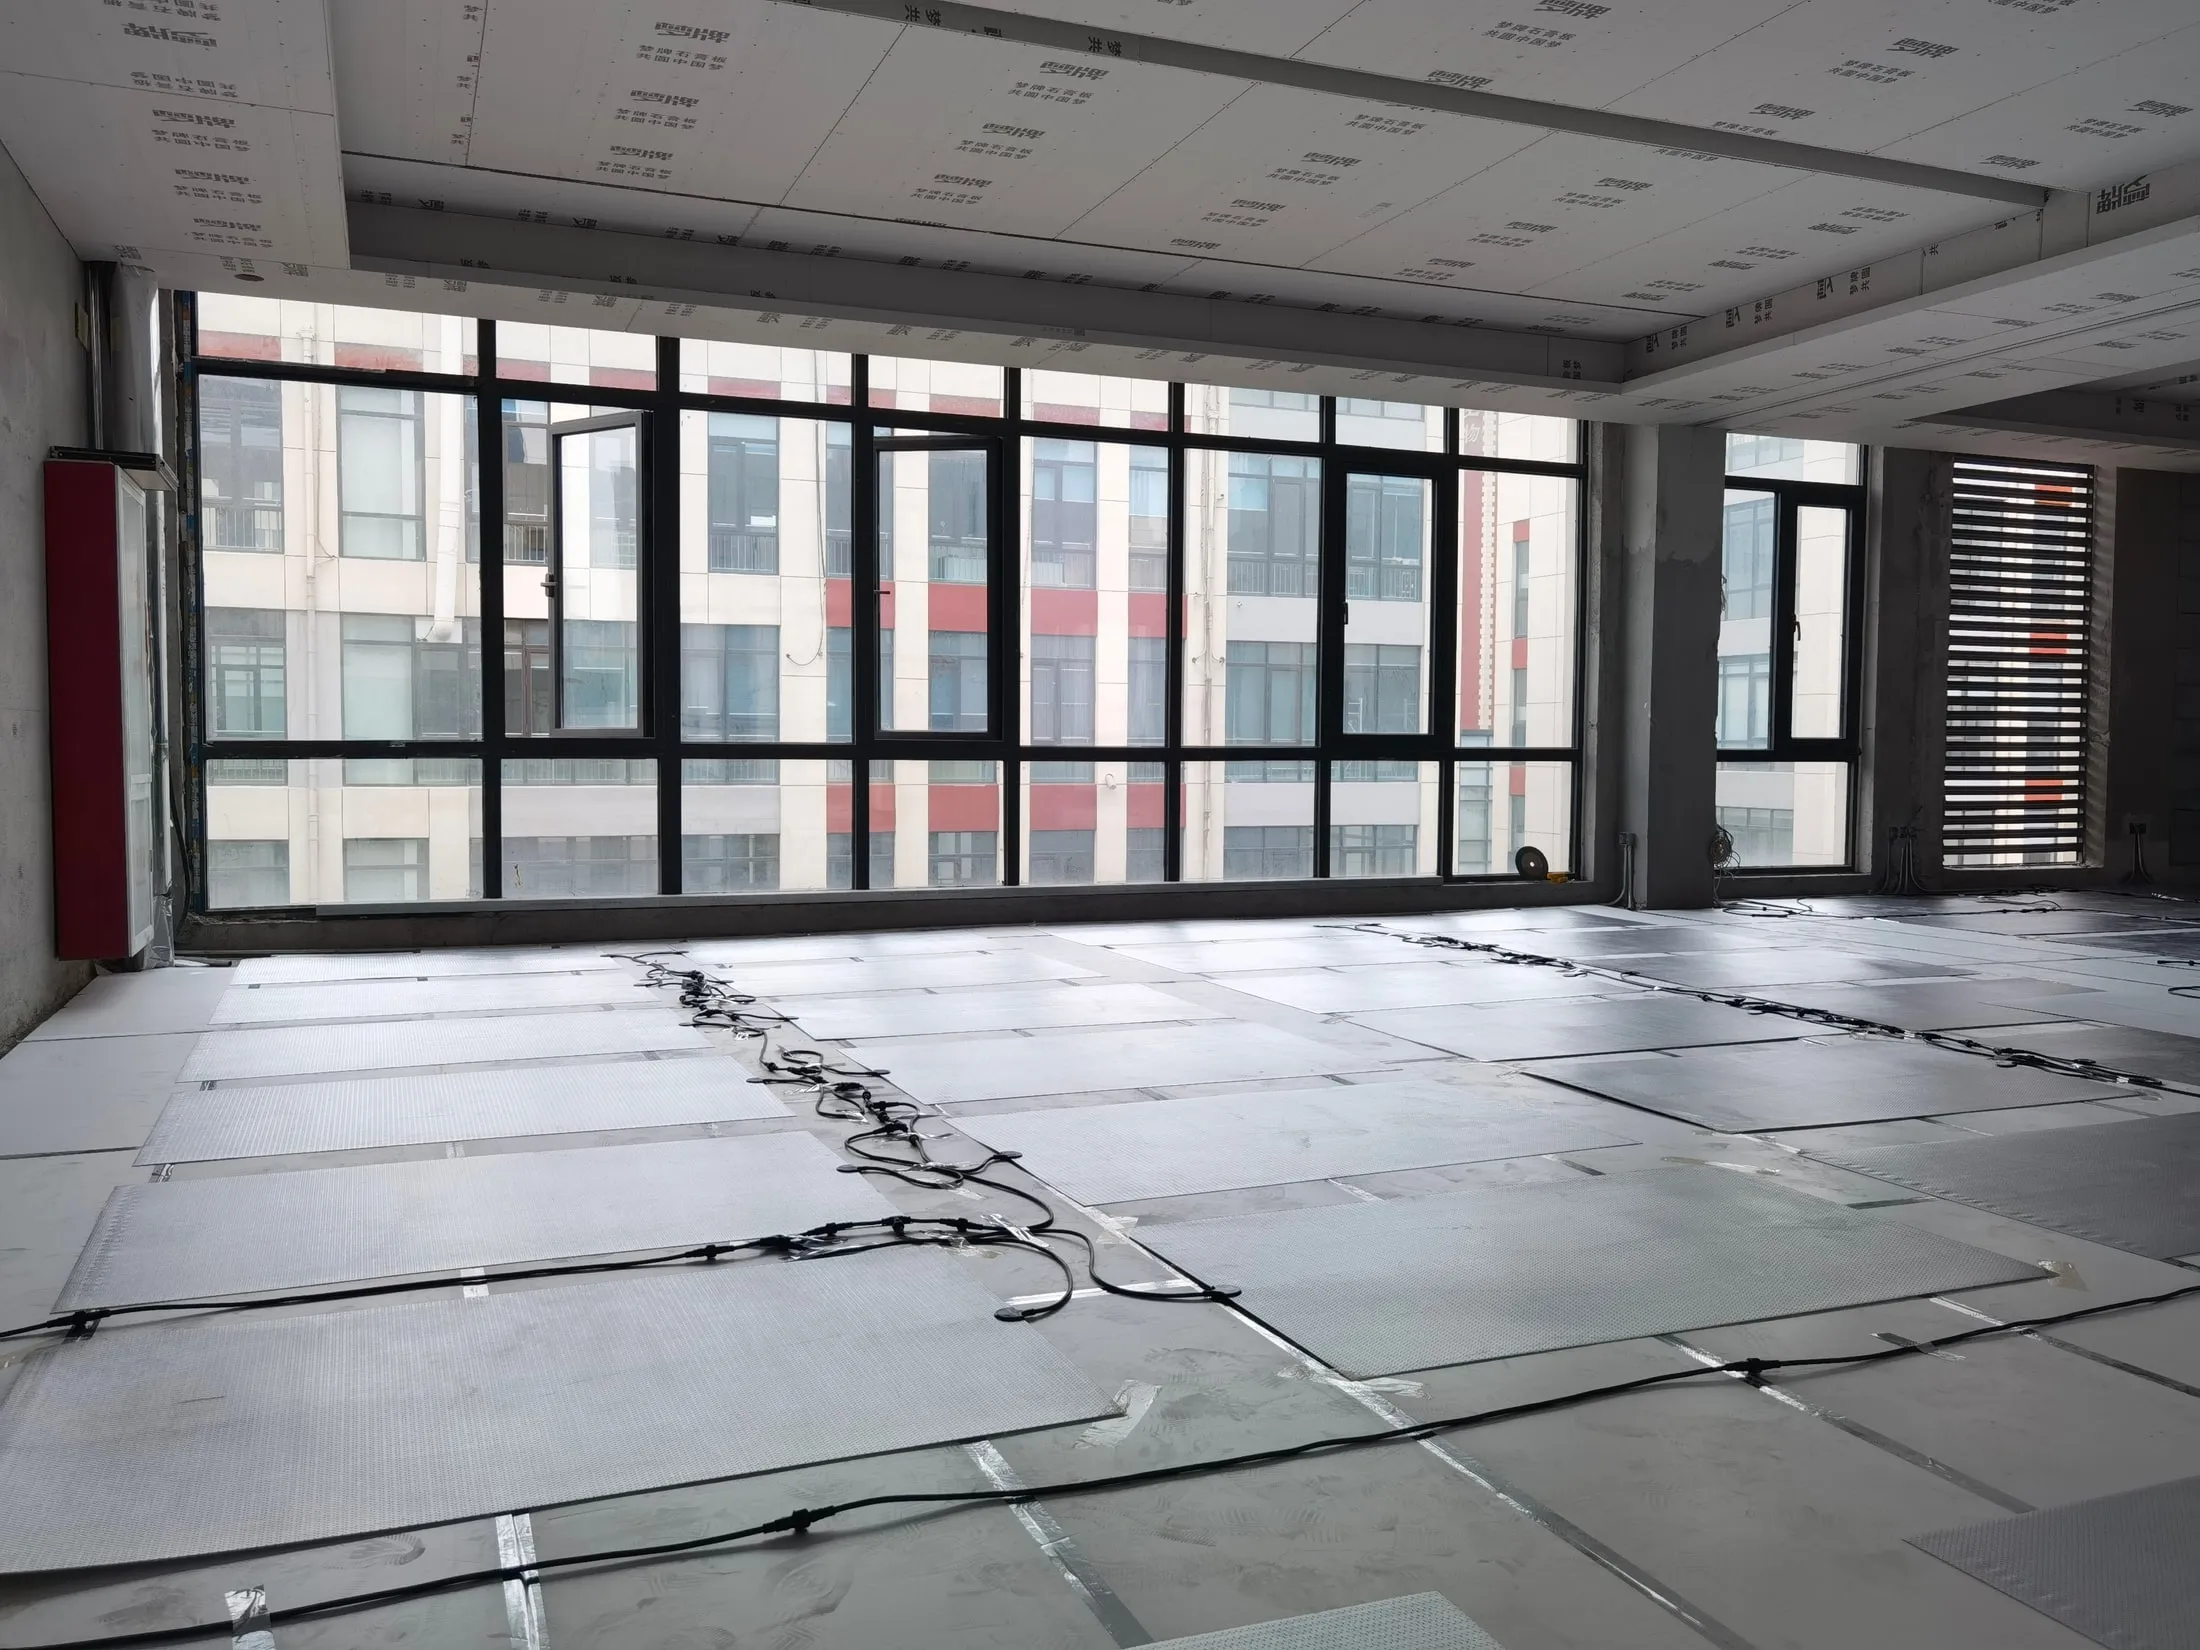
Element laid under a floating finishBoth build-ups work with low-voltage ComfortScrim and with line-voltage SafeTech EGS. Which one you use comes down to the finish you have chosen and to whether wet trades are coming to the room anyway. A floating finish needs no adhesive bed.
Curing, and the mistake everyone is tempted to make
The temptation, having just laid a heated floor, is to switch it on and see whether it works. Doing that is how a good installation is ruined in an afternoon.
- 0 to 24 hours. No foot traffic. Cover with polyethylene to hold moisture in the bed.
- Full cure: 72 hours at 20 °C ambient. Below 10 °C, extend to seven days.
- Grout after 48 hours at the earliest. Use a flexible grout rated across the working range, at least 3 mm deep, with movement joints at every cross-intersection.
- First power-on only after the full 72-hour cure and a cured grout.
- Then ramp. Thermostat to 15 °C for the first 24 hours, then up by 5 °C a day until design temperature.
Heating a bed that has not cured drives water out too quickly, and the result is a weak, shrunken bed that debonds later. The ramp matters for the same reason the S rating does: you are introducing movement to an assembly for the first time, and it should happen slowly.
Dry and floating finishes
Not every floor gets a wet bed. Where the finish is laminate, engineered wood or click vinyl over the thin overmolding (EGS21F):
- Click-lock timber goes down floating, with no adhesive and no fixings, and an 8 to 10 mm expansion gap at every wall.
- Engineered and solid composite needs an adhesive rated to at least 50 °C, spot-bonded at 300 mm centers, with uniform load applied for 24 hours.
- Sheet vinyl should acclimatize on site for 24 hours before laying, with seams welded at 180 to 200 °C.
One prohibition applies to every finish, wet or dry: no nails and no screws. Anything that penetrates the element causes a short circuit, and there is no repair that does not involve lifting the floor.
The short version
Specify C2TE S1 as a minimum and S2 above 1.2 m². Keep the bed between 3 and 5 mm. Reach 90% coverage and check for hollows. Prime according to the substrate, not out of habit. Then leave it alone for 72 hours before it sees any power.
MAPEI publish the full build-up recommendation for laying our elements with their primers, leveling compounds and adhesives, covering every substrate and every floor finish with consumption figures. It is on the floor heating page with the datasheets and the installation guide.
If you are specifying a floor now and want the layer stack checked against the finish you have chosen, send us the drawing. Get a layout for your plan, or read the comparison of our two floor systems if you have not yet chosen between them.