How to install electric underfloor heating film, step by step
How to install electric underfloor heating film under tiles or a floating floor: substrate, insulation, layout, connections, testing and first heat-up, step by step.
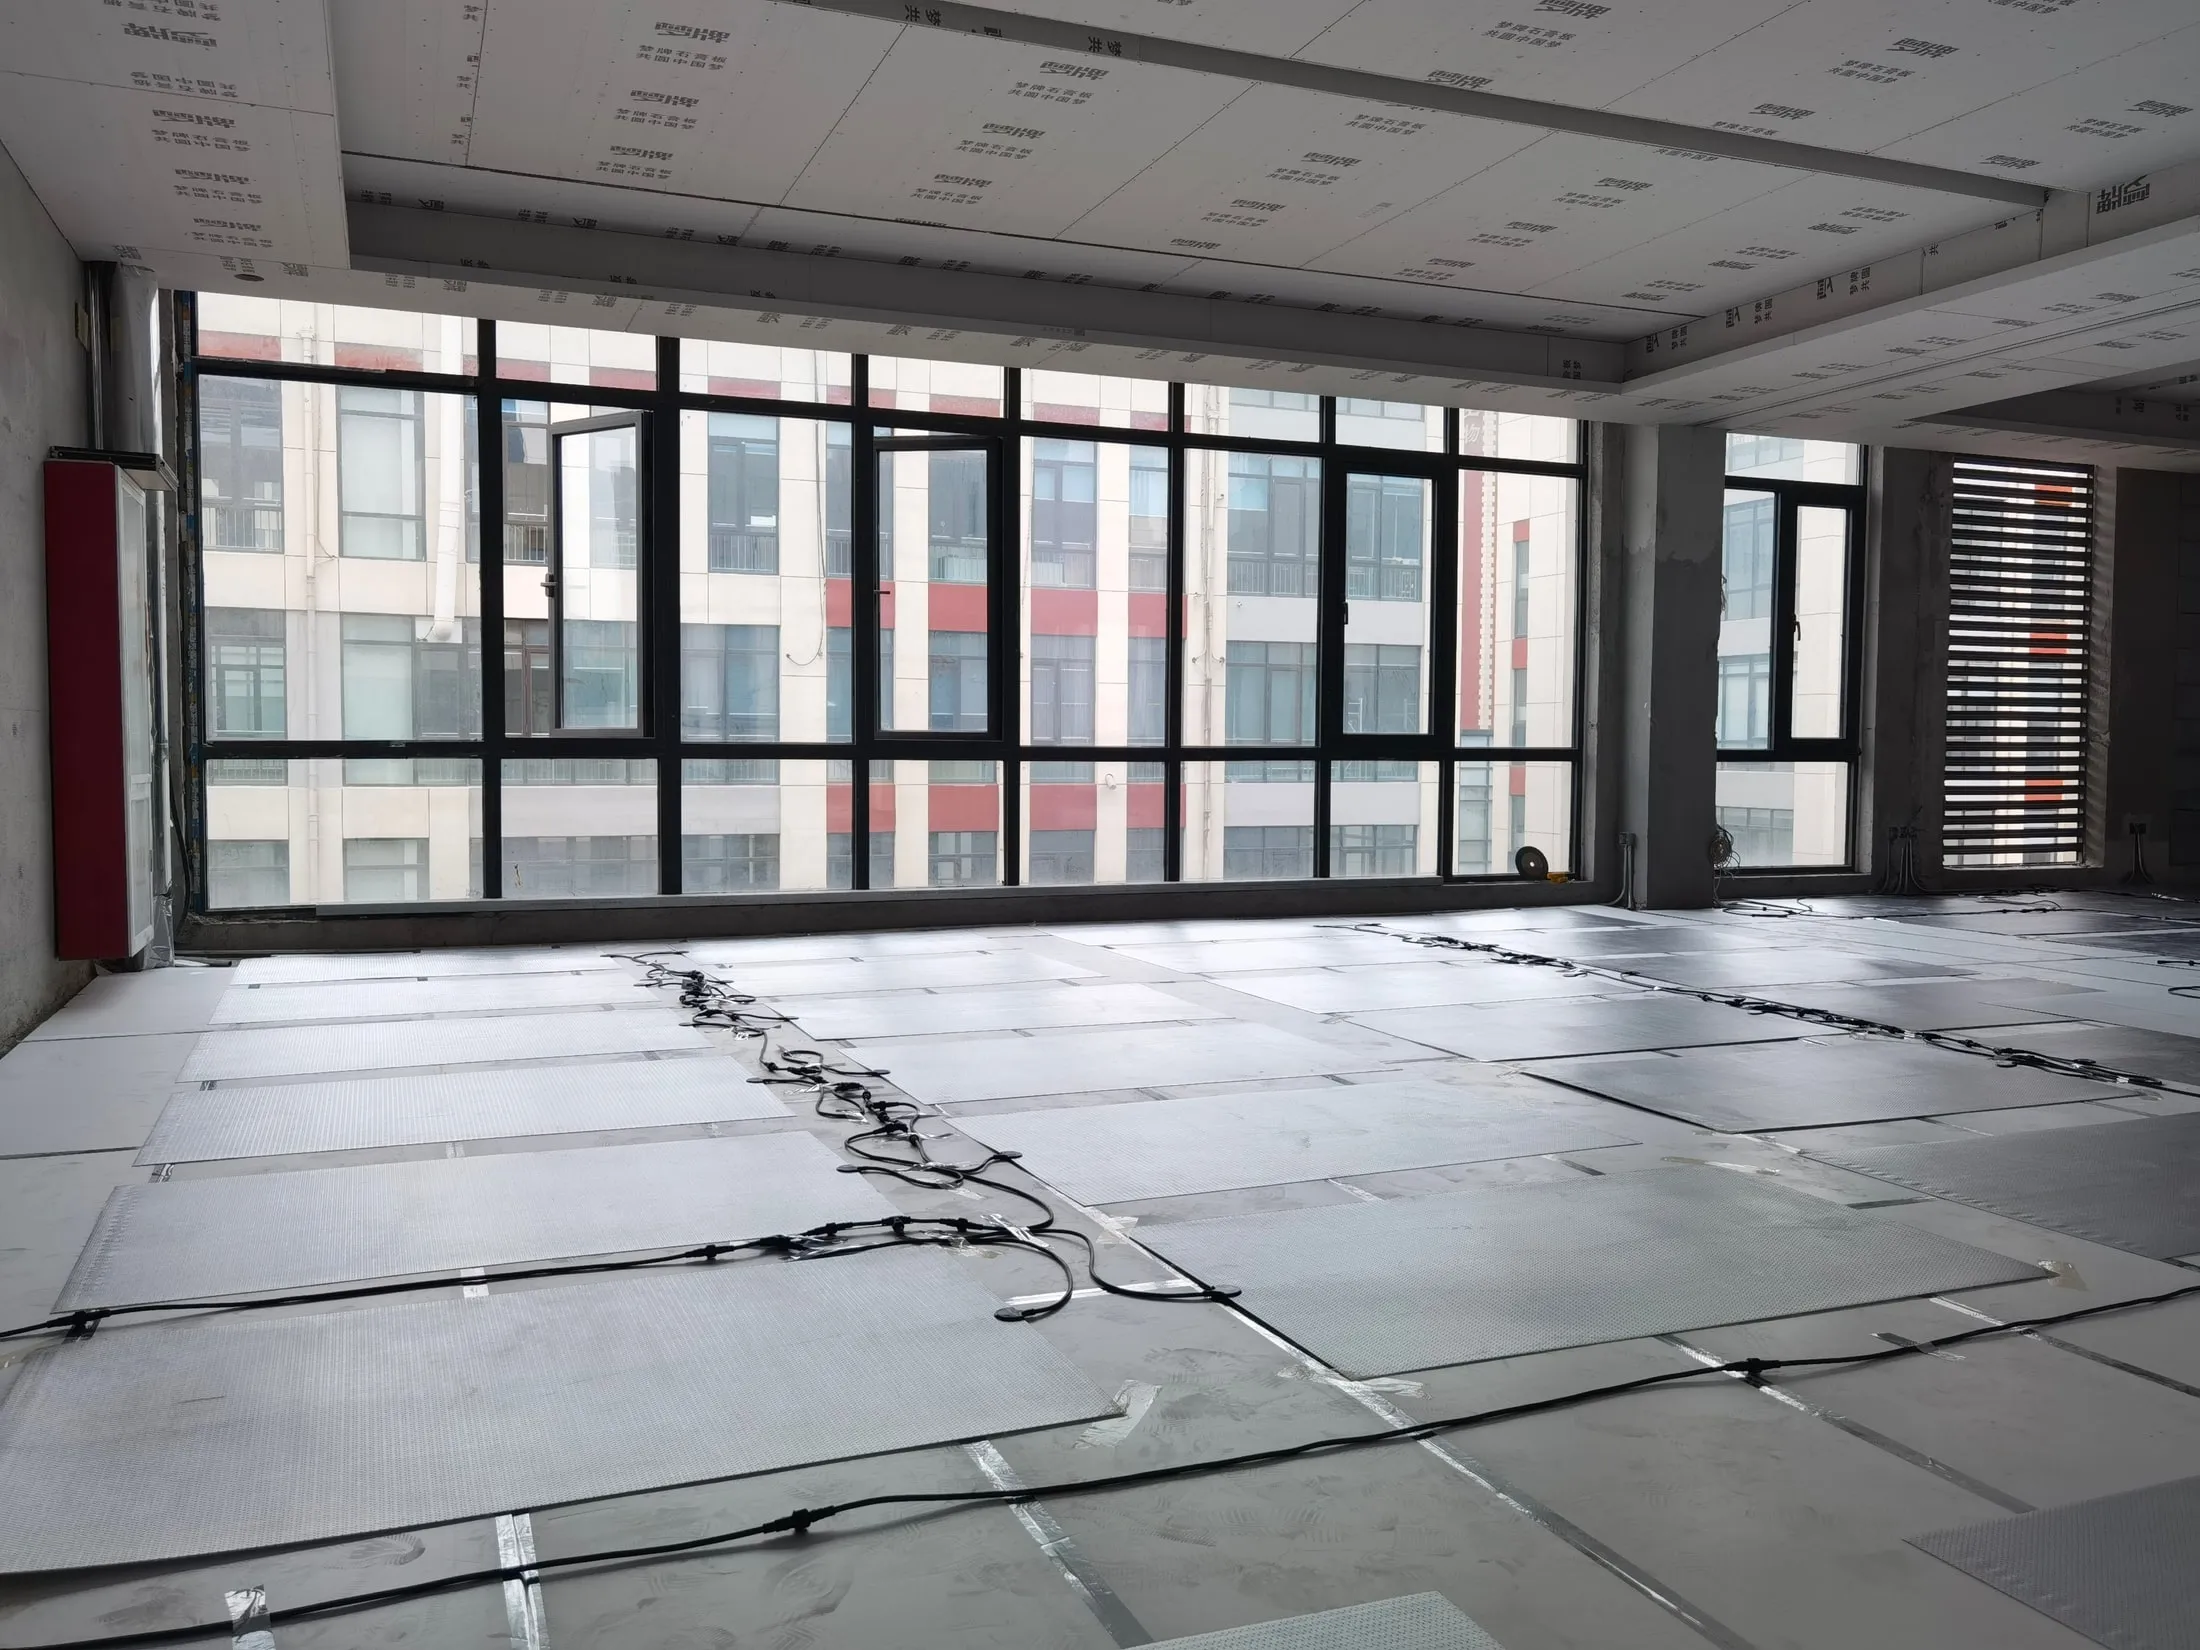
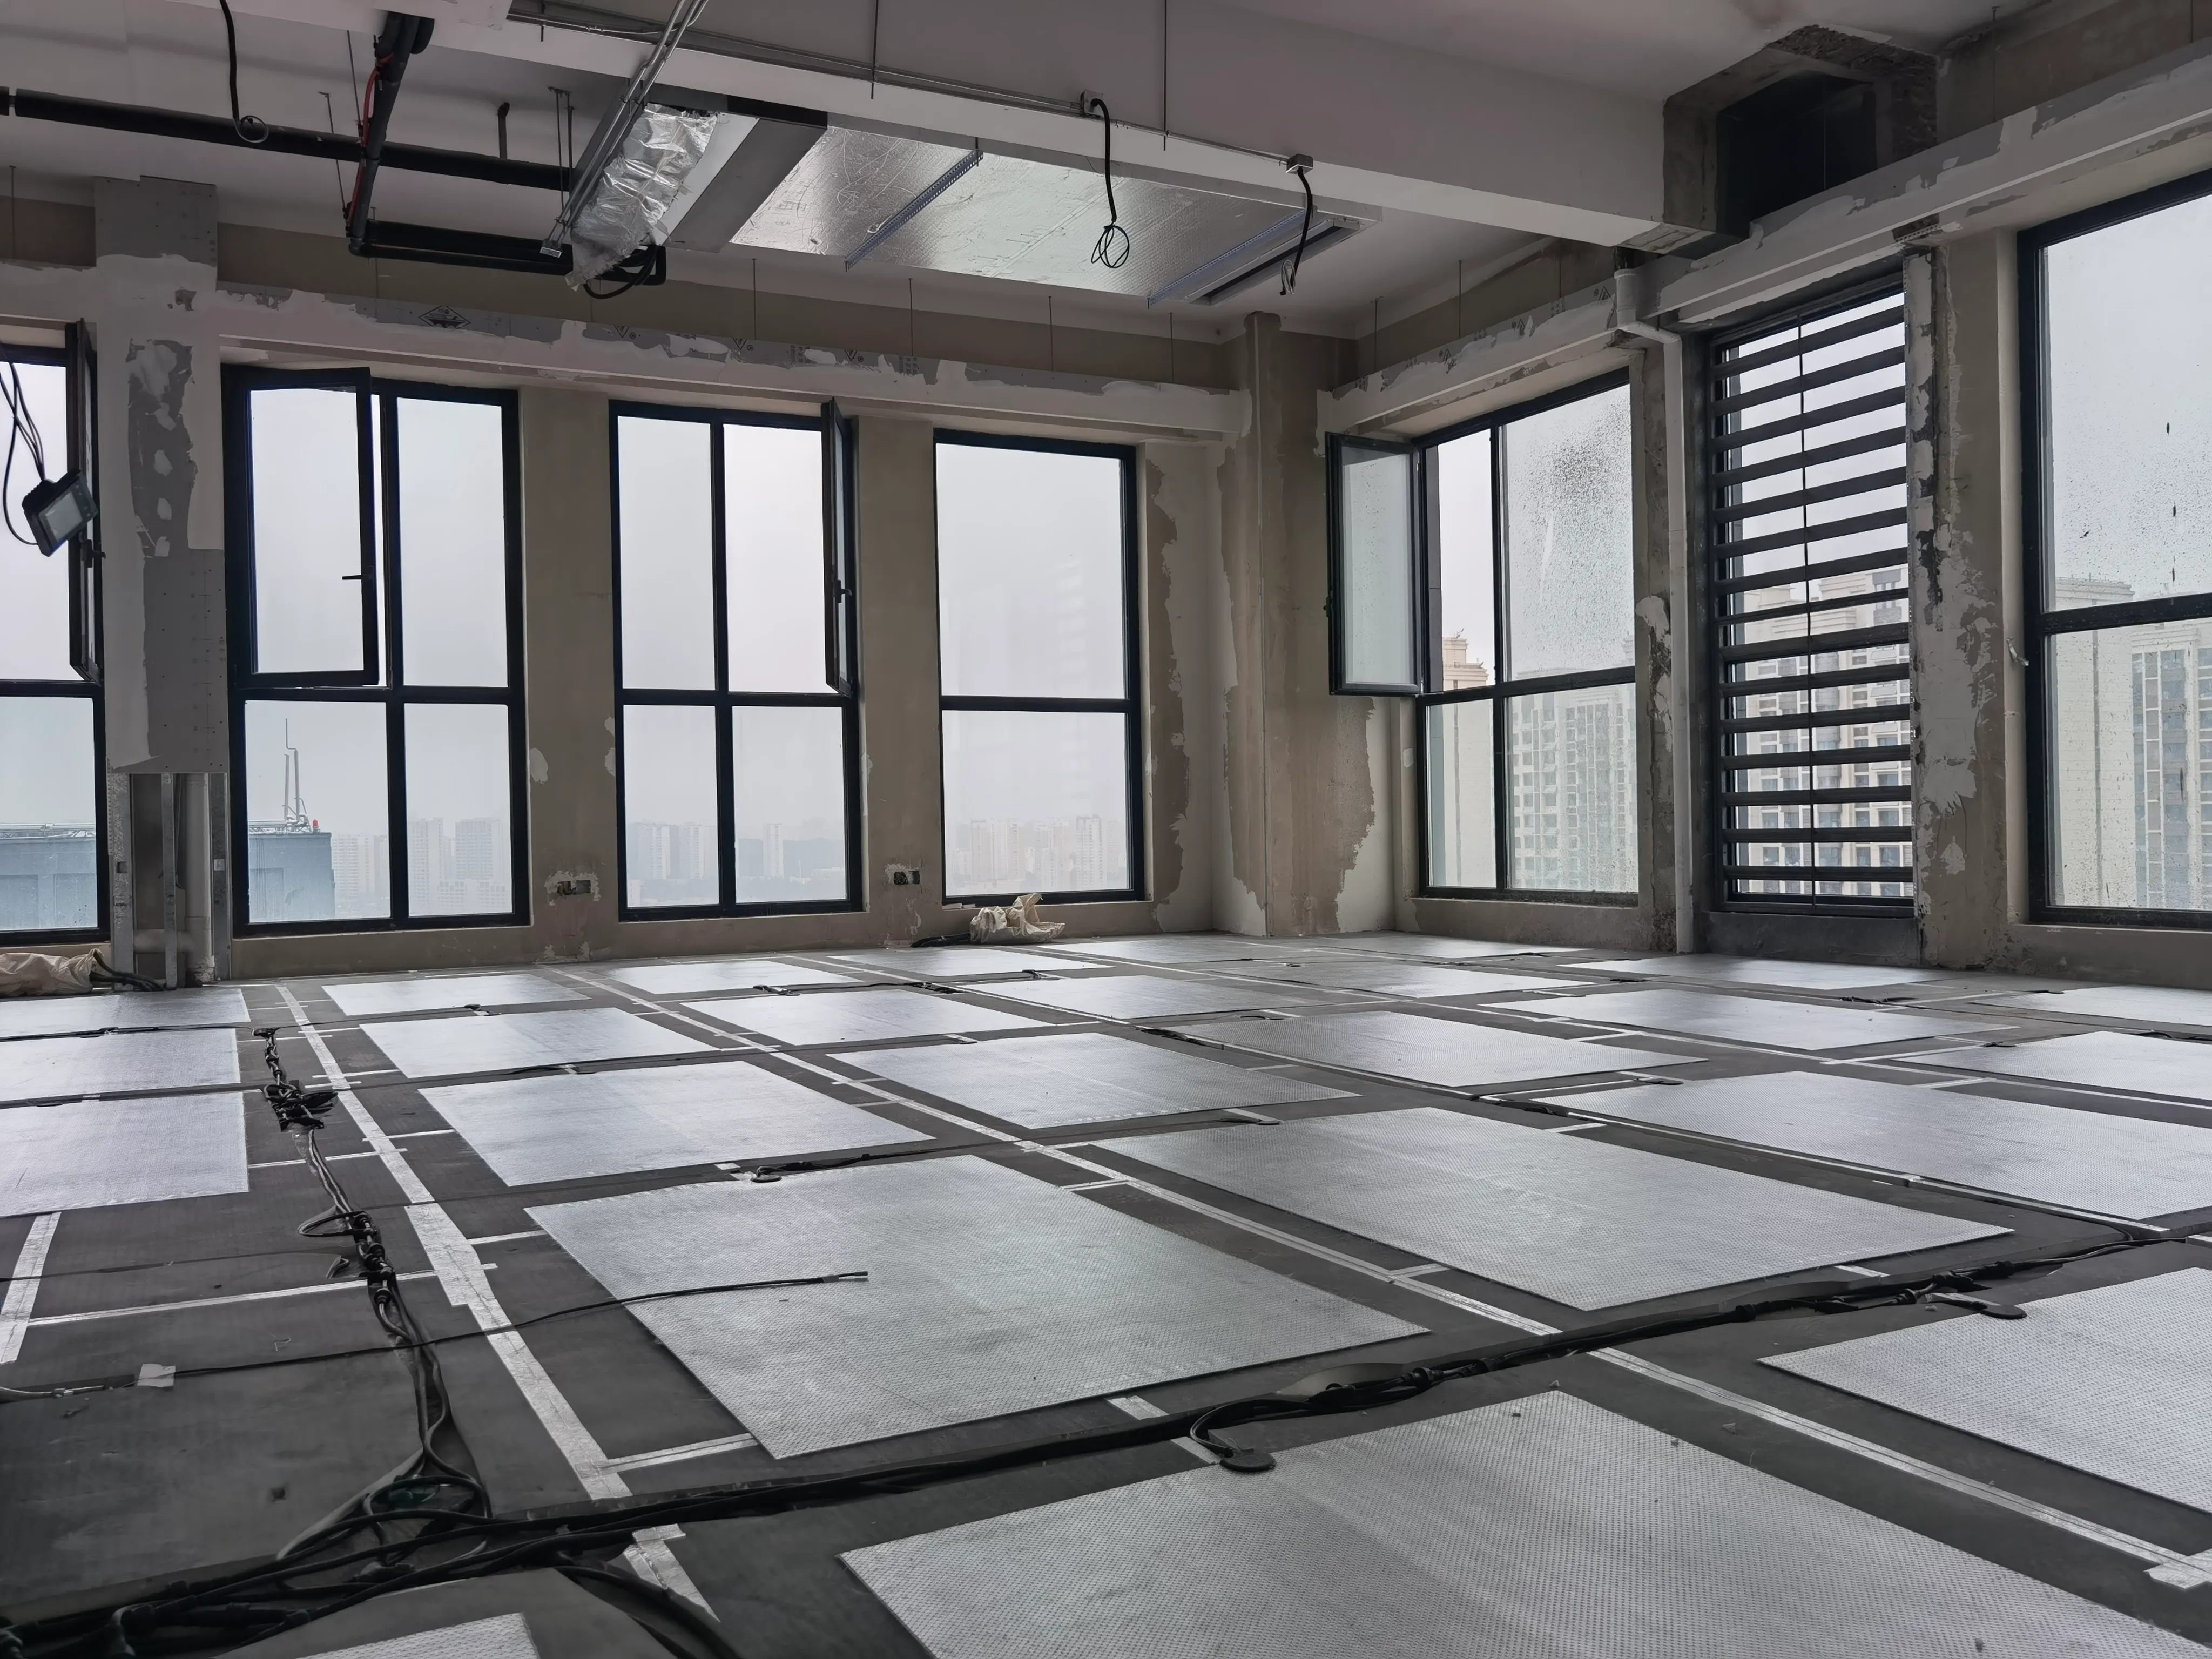
Electric underfloor heating film goes down in a day, but only if the floor under it is right and the order of work is respected. This is the sequence we use for SafeTech EGS, our mains-voltage (100–240 V) carbon-fibre heating film, from bare slab to first heat-up. It’s written for installers and for anyone planning a renovation who wants to know what a good job looks like.
One rule before anything else: the heaters plug together, but the connection to the supply is mains electrical work. It needs a competent electrician, a 30 mA RCD and a dedicated circuit.
1. Check the substrate
The film is thin, so it shows every fault in the floor beneath it.
- Flatness: no more than 3 mm deviation under a 2 m straight edge. Fill dips with self-levelling compound; grind high spots.
- Moisture: concrete at or below 18%, timber at or below 10%. A damp slab gets time to dry, or an epoxy moisture barrier.
- Cracks: under 2 mm, inject with epoxy. Wider, open to a V and fill with repair mortar.
- Clean: vacuum out dust and debris and sweep for nails or glass. Anything sharp under the film is a fault waiting to happen.
- Power: a dedicated circuit of at least 2.5 mm², sized for the full load, and a back box for the thermostat about 1.5 m above the finished floor.
2. Lay insulation and perimeter strip
Insulation makes the heat go up rather than into the slab. Use XPS of at least 20 mm (30 mm in cold climates) or PIR of at least 10 mm, both at 35 kg/m³ and 250 kPa or better. Never use low-density EPS. Stagger the joints, tape them with 50 mm foil tape, and leave 5 mm at walls and columns.
Run an 8–10 mm foam perimeter strip around every wall and column so the floor can expand without pushing on the building. We cover the choice of board in insulation under electric underfloor heating.
3. Check every heater before it goes down
Measure the resistance of each heater on site. It should be within ±5% of the value on its label. A heater that fails here is replaced now, not dug out later.
4. Dry-lay to the drawing
Every SafeTech EGS heater is made to length for the room, so the layout is a drawing, not a decision on site. Lay the heaters out loose, check each model number against the schedule, and keep 200 mm clear of anything fixed: kitchen units, built-in wardrobes, a bath. Heat trapped under a cabinet has nowhere to go.
Which version you lay depends on the finish:
| Finish | Version | Where it sits | Thickness |
|---|---|---|---|
| Laminate, engineered wood, click vinyl | EGS21F (thin overmoulding) | On a 4–6 mm underlayment, directly under the floating floor | 1.4 mm film, about 5 mm at the connection |
| Tiles, thin build-up | EGS21F | In the tile adhesive bed | 1.4 mm film, about 5 mm at the connection |
| Tile, stone, resin, screeded floors | EGS21E (thick overmoulding) | On about 20 mm insulation, embedded in the levelling layer | 1.4 mm film, 12 mm at the connection |
5. Connect, in parallel
Each group of heaters is wired back to the thermostat in parallel, never in series. The pre-cabled tails plug together with IP68 connectors, so there is no cutting or stripping at the heater. The electrician terminates the supply at the thermostat: neutral to N, live to L, the heater feed to L1, and earth to the earth terminal, with the earth run independently back to the board’s earth bar. Above about 3.5 kW, the thermostat switches a contactor rather than the load itself, as on our 120 m² Laoshan office floor.
6. Fit the floor sensor
Put the sensor in the middle of a gap between two heaters, at least 100 mm from a heater edge, away from outside walls and doors. Run it in a conduit back to the wall so it can be replaced without lifting the floor, and seal the conduit end so no mortar gets in.
7. Test before you cover
With the main breaker off and the thermostat disconnected, test insulation resistance at 500 V DC from live to earth and neutral to earth. You want at least 50 MΩ, steady for a minute. Then measure loop resistance per circuit: within ±10% of design. Write the readings down and photograph the layout. Those records are your warranty file. More in testing electric underfloor heating.
8. Lay the finish
- Floating floor (EGS21F): lay the boards directly over the film, floating, with an 8–10 mm gap at the walls. No nails or screws anywhere.
- Tiles in adhesive (EGS21F): a flexible C2TES1 adhesive with a 5 mm notched trowel, a bed of 3–5 mm, and at least 90% coverage.
- Tile or stone over a levelling layer (EGS21E): fibre-reinforced levelling mortar over the heaters, then a flexible tile adhesive. Our adhesive guide gives the full MAPEI build-up.
9. Let it cure, then warm it slowly
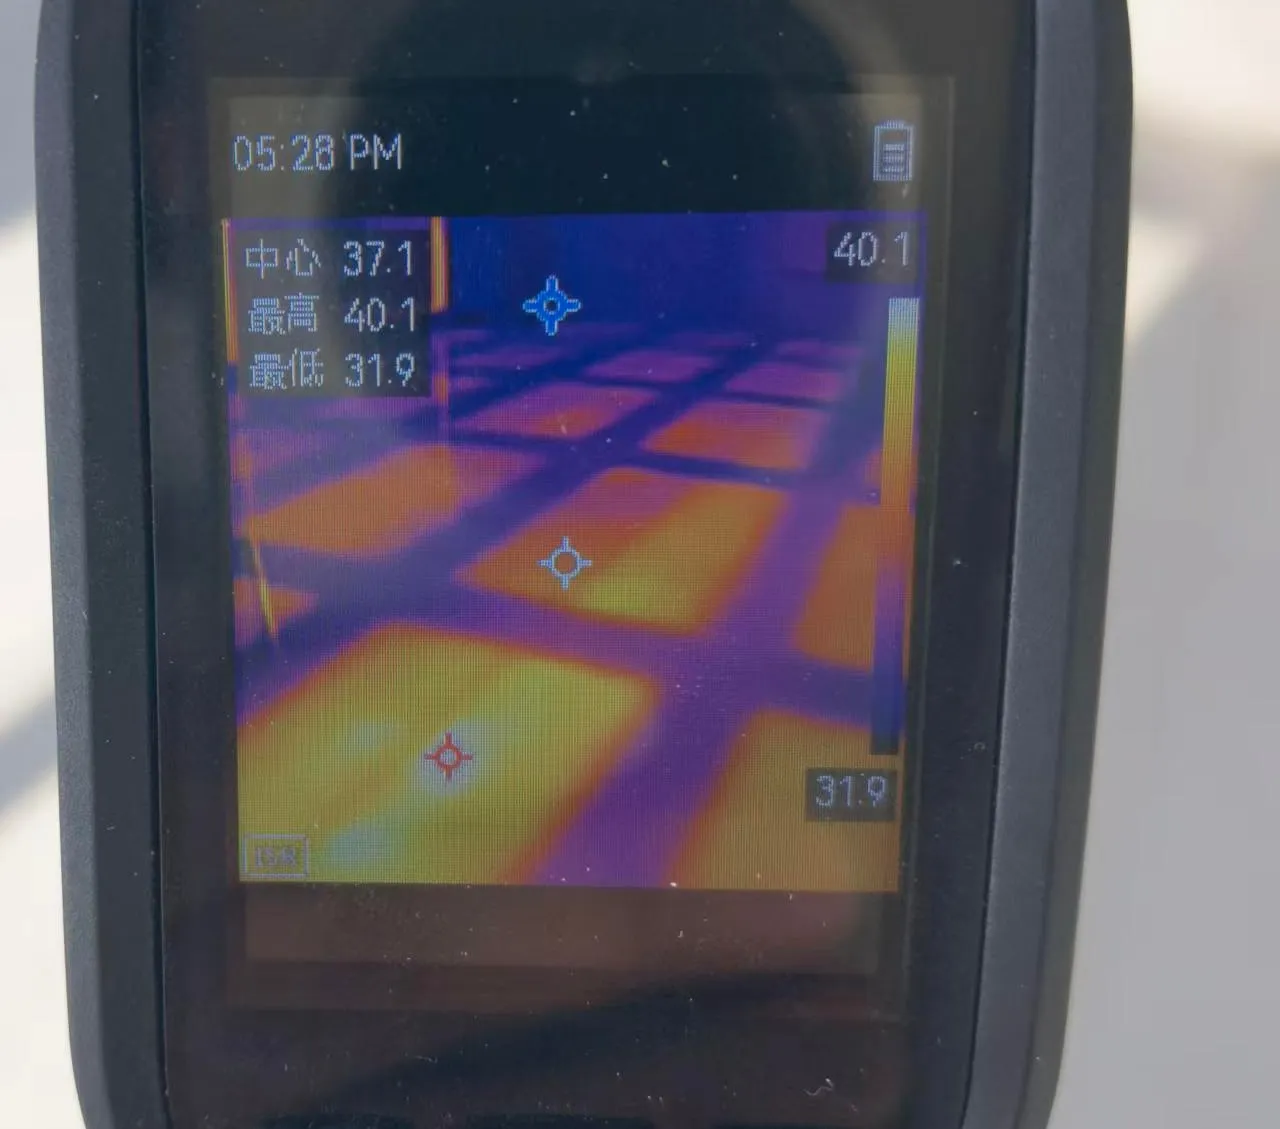
No power until the adhesive and grout have cured: at least 72 hours at 20 °C, longer in the cold. Start the thermostat at 15 °C for the first day, then raise it 5 °C a day to the design temperature. Then walk the floor with a thermal camera. Every heater should warm evenly, with no cold strip and no hot connection.
A note on bathrooms
SafeTech EGS has IP68 connections, but for bathrooms and wet rooms we normally recommend our low-voltage ComfortScrim instead. See low voltage electric heating for bathrooms.
Installing electric underfloor heating: your questions
Can I install electric underfloor heating myself?
You can lay the insulation and heaters yourself if you follow the layout drawing, but the connection to the supply, the RCD and the tests are mains electrical work for a competent electrician. In many countries that work must also be notified or certified.
Do I need insulation under electric underfloor heating?
On a concrete slab, yes. Without it much of the heat goes down into the slab. We specify at least 20 mm of XPS or 10 mm of PIR at 250 kPa or more.
How long does installation take?
The heating layer itself is usually a day. A 120 m² office in Qingdao was insulated, laid, connected and tested in one working day. Curing the tile adhesive takes at least 72 hours before the heating is switched on.
Can the heating film be cut to fit?
No. SafeTech EGS heaters are made to length for each room from a layout drawing, so nothing is cut on site.
Can you nail or screw through a heated floor?
No. Never nail, screw or drill into an area with heating film under it. Floating floors are laid without fixings, and furniture is fixed with adhesive or non-penetrating clamps.
When can I switch it on after tiling?
After the adhesive and grout have fully cured, at least 72 hours at 20 °C. Then start at 15 °C and raise the setting by 5 °C a day.
Want a layout drawing for your floor before you start? Send us a floor plan and we’ll send back the heater schedule, free.